
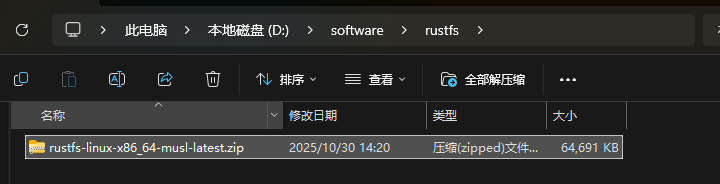
1、下载
https://rustfs.com/zh/download/?platform=linux
已上传云盘
# 下载地址
wget https://dl.rustfs.com/artifacts/rustfs/release/rustfs-linux-x86_64-musl-latest.zip
unzip rustfs-linux-x86_64-musl-latest.zip
chmod +x rustfs
mv rustfs /usr/local/bin/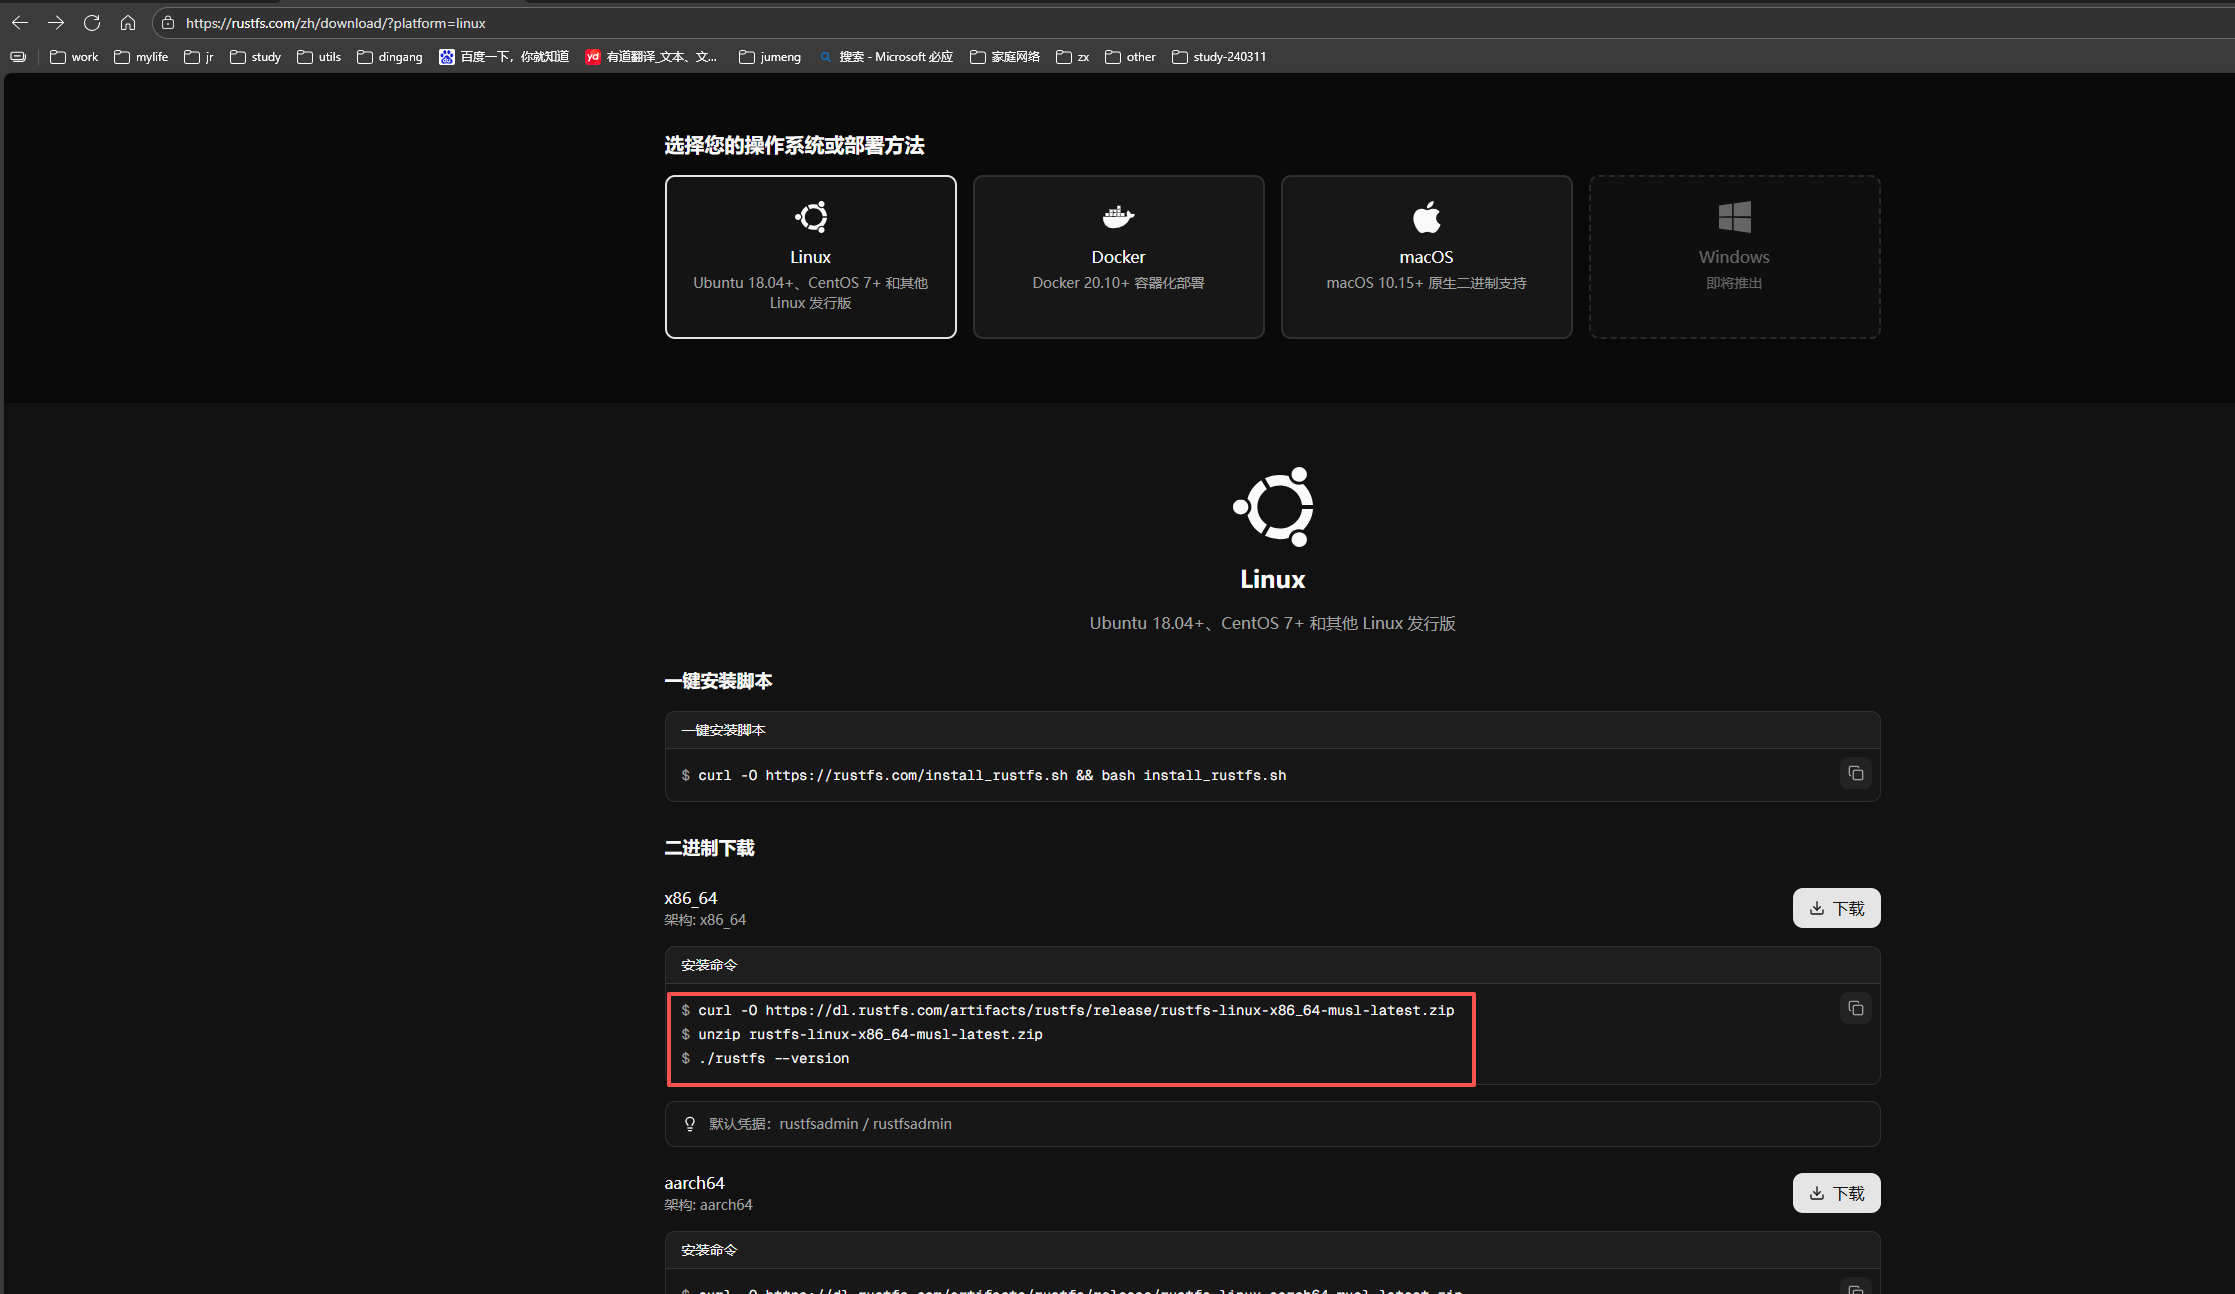
2、安装
2.1、上传服务器,并解压

unzip rustfs-linux-x86_64-musl-latest.zipchmod +x rustfs
2.2、创建服务
cp rustfs /usr/local/bin/2.2.1、创建配置文件
1、单机单盘模式
# 单机单盘模式
sudo tee /etc/default/rustfs <<EOF
RUSTFS_ACCESS_KEY=rustfsadmin
RUSTFS_SECRET_KEY=rustfsadmin
RUSTFS_VOLUMES="/data/rustfs0"
RUSTFS_ADDRESS=":9000"
RUSTFS_CONSOLE_ENABLE=true
RUST_LOG=error
RUSTFS_OBS_LOG_DIRECTORY="/var/logs/rustfs/"
EOF
2、单机多盘模式 0-3四块盘
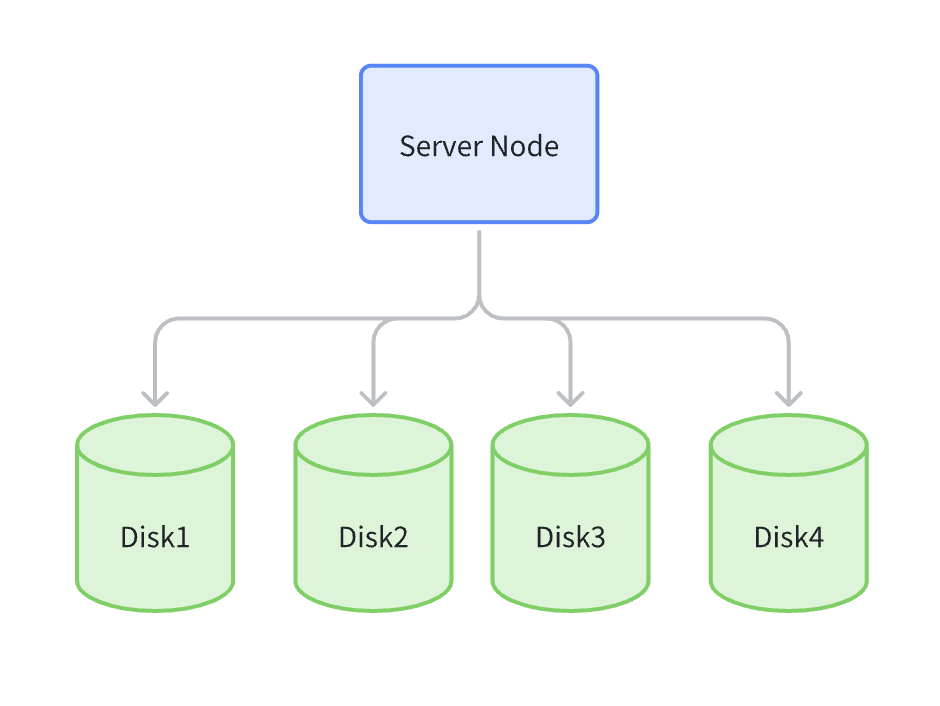
# 单机多盘模式 0-3四块盘
sudo tee /etc/default/rustfs <<EOF
RUSTFS_ACCESS_KEY=rustfsadmin
RUSTFS_SECRET_KEY=rustfsadmin
RUSTFS_VOLUMES="/data/rustfs{0...3}"
RUSTFS_ADDRESS=":9000"
RUSTFS_CONSOLE_ENABLE=true
RUST_LOG=error
RUSTFS_OBS_LOG_DIRECTORY="/var/logs/rustfs/"
EOF
3、多机多盘模式
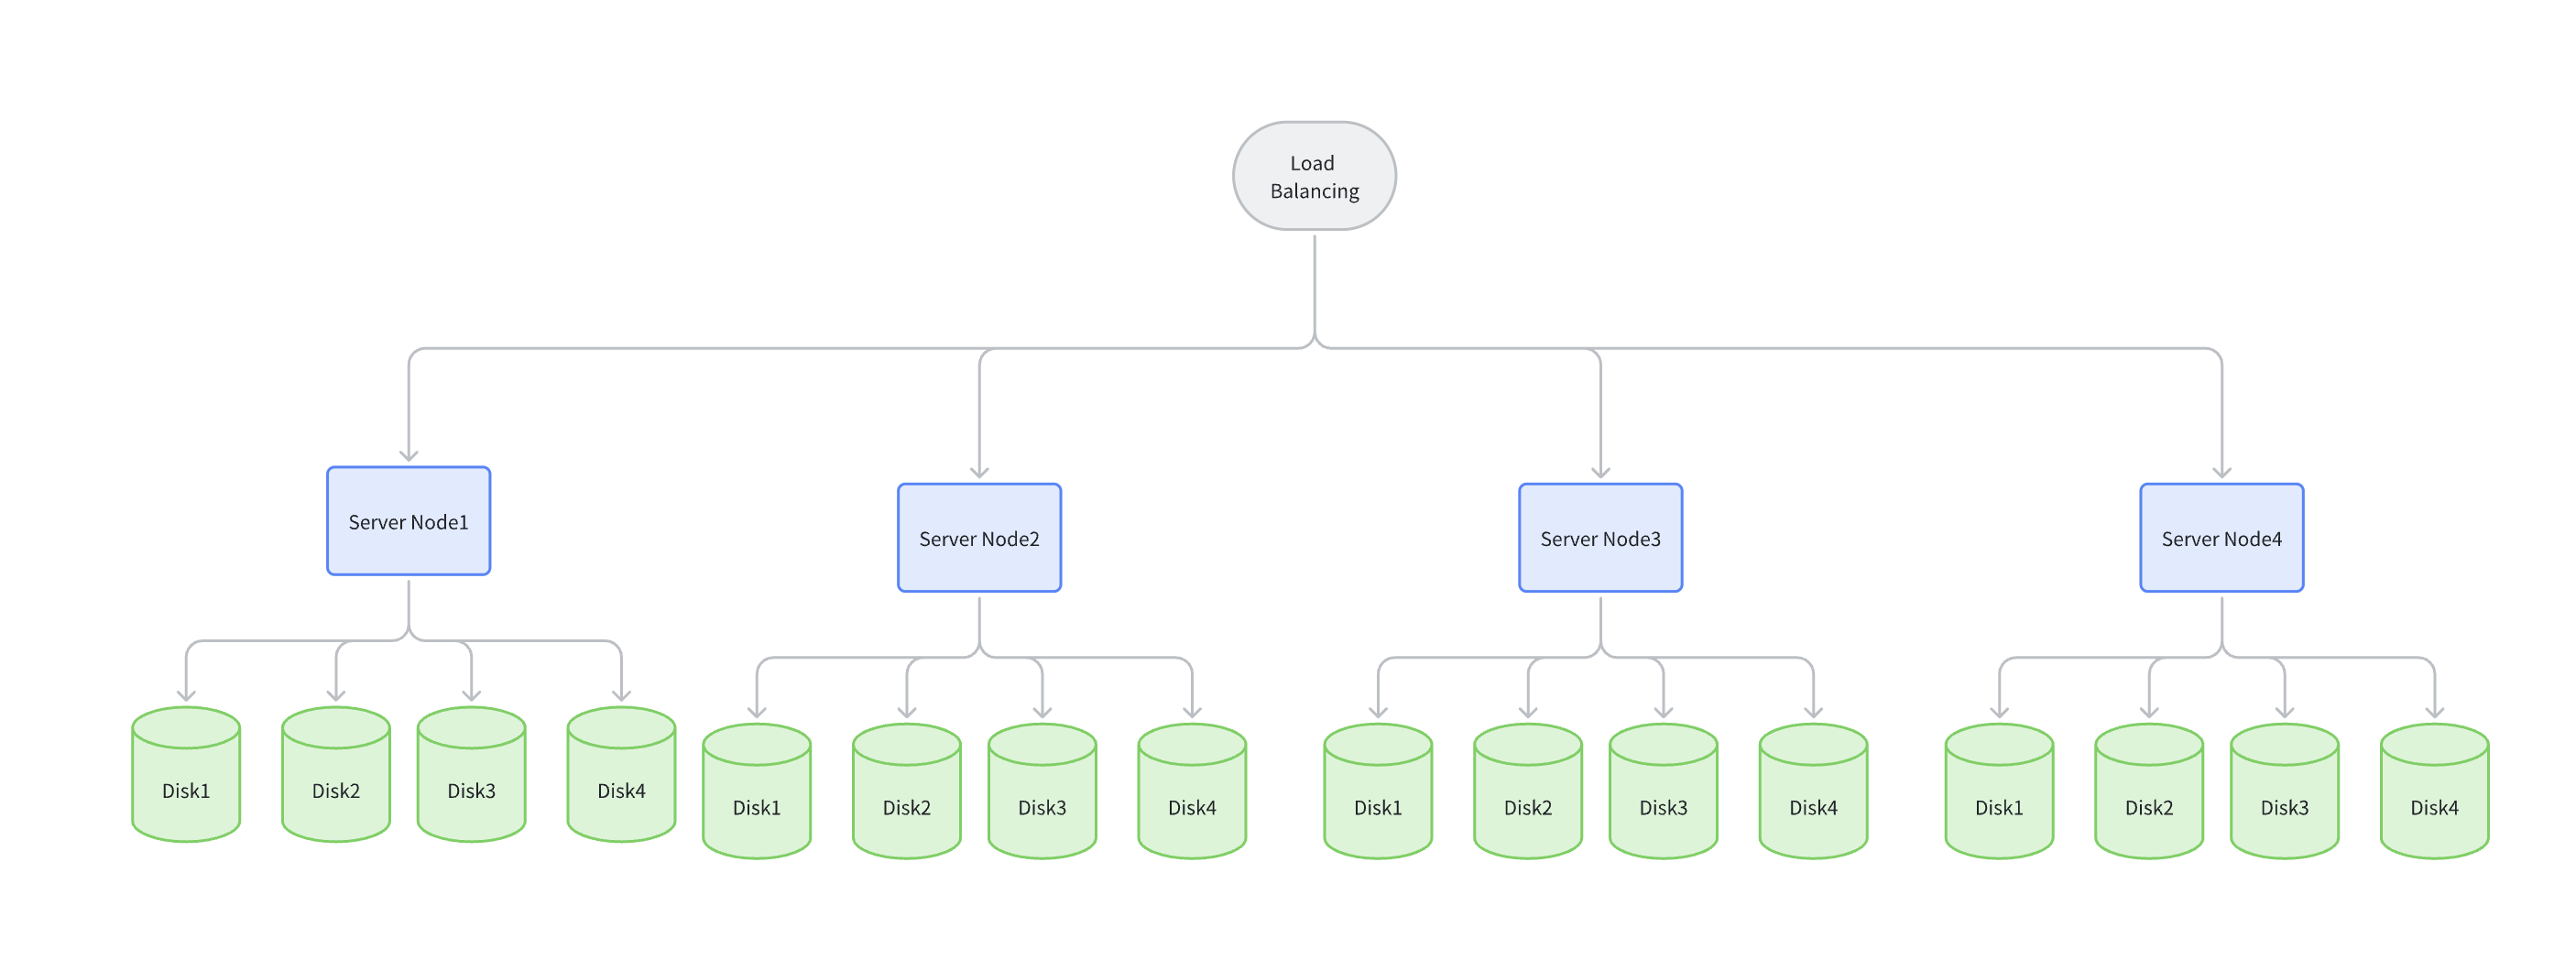
修改 /etc/hosts中的本地别名设置,具体操作如下:
vim /etc/hosts
127.0.0.1 localhost localhost.localdomain localhost4 localhost4.localdomain4
::1 localhost localhost.localdomain localhost6 localhost6.localdomain6
192.168.1.1 node1
192.168.1.2 node2
192.168.1.3 node3
192.168.1.4 node4
# 多机多盘模式
sudo tee /etc/default/rustfs <<EOF
RUSTFS_ACCESS_KEY=rustfsadmin
RUSTFS_SECRET_KEY=rustfsadmin
RUSTFS_VOLUMES="http://node{1...4}:9000/data/rustfs{0...3}"
RUSTFS_ADDRESS=":9000"
RUSTFS_CONSOLE_ENABLE=true
RUST_LOG=error
RUSTFS_OBS_LOG_DIRECTORY="/var/logs/rustfs/"
EOF2.2.2、创建存储目录
sudo mkdir -p /data/rustfs0 /var/logs/rustfs /opt/tls
sudo chmod -R 750 /data/rustfs* /var/logs/rustfs
2.2.3、创建 systemd 服务文件
sudo tee /etc/systemd/system/rustfs.service <<EOF
[Unit]
Description=RustFS Object Storage Server
Documentation=https://rustfs.com/docs/
After=network-online.target
Wants=network-online.target

[Service]
Type=notify
NotifyAccess=main
User=root
Group=root

WorkingDirectory=/usr/local
EnvironmentFile=-/etc/default/rustfs
ExecStart=/usr/local/bin/rustfs \$RUSTFS_VOLUMES

LimitNOFILE=1048576
LimitNPROC=32768
TasksMax=infinity

Restart=always
RestartSec=10s

OOMScoreAdjust=-1000
SendSIGKILL=no

TimeoutStartSec=30s
TimeoutStopSec=30s

NoNewPrivileges=true
ProtectSystem=full
ProtectHome=true
PrivateTmp=true
PrivateDevices=true
ProtectClock=true
ProtectKernelTunables=true
ProtectKernelModules=true
ProtectControlGroups=true
RestrictSUIDSGID=true
RestrictRealtime=true

# service log configuration
StandardOutput=append:/var/logs/rustfs/rustfs.log
StandardError=append:/var/logs/rustfs/rustfs-err.log

[Install]
WantedBy=multi-user.target
EOF
2.2.4、重新加载服务配置
sudo systemctl daemon-reload3、启动
3.1、启动服务并设置开机自启
sudo systemctl enable --now rustfssystemctl start rustfs3.2、验证服务状态
systemctl status rustfs3.3、检查服务端口
netstat -ntpl3.4、查看日志文件
tail -f /var/logs/rustfs/rustfs*.log
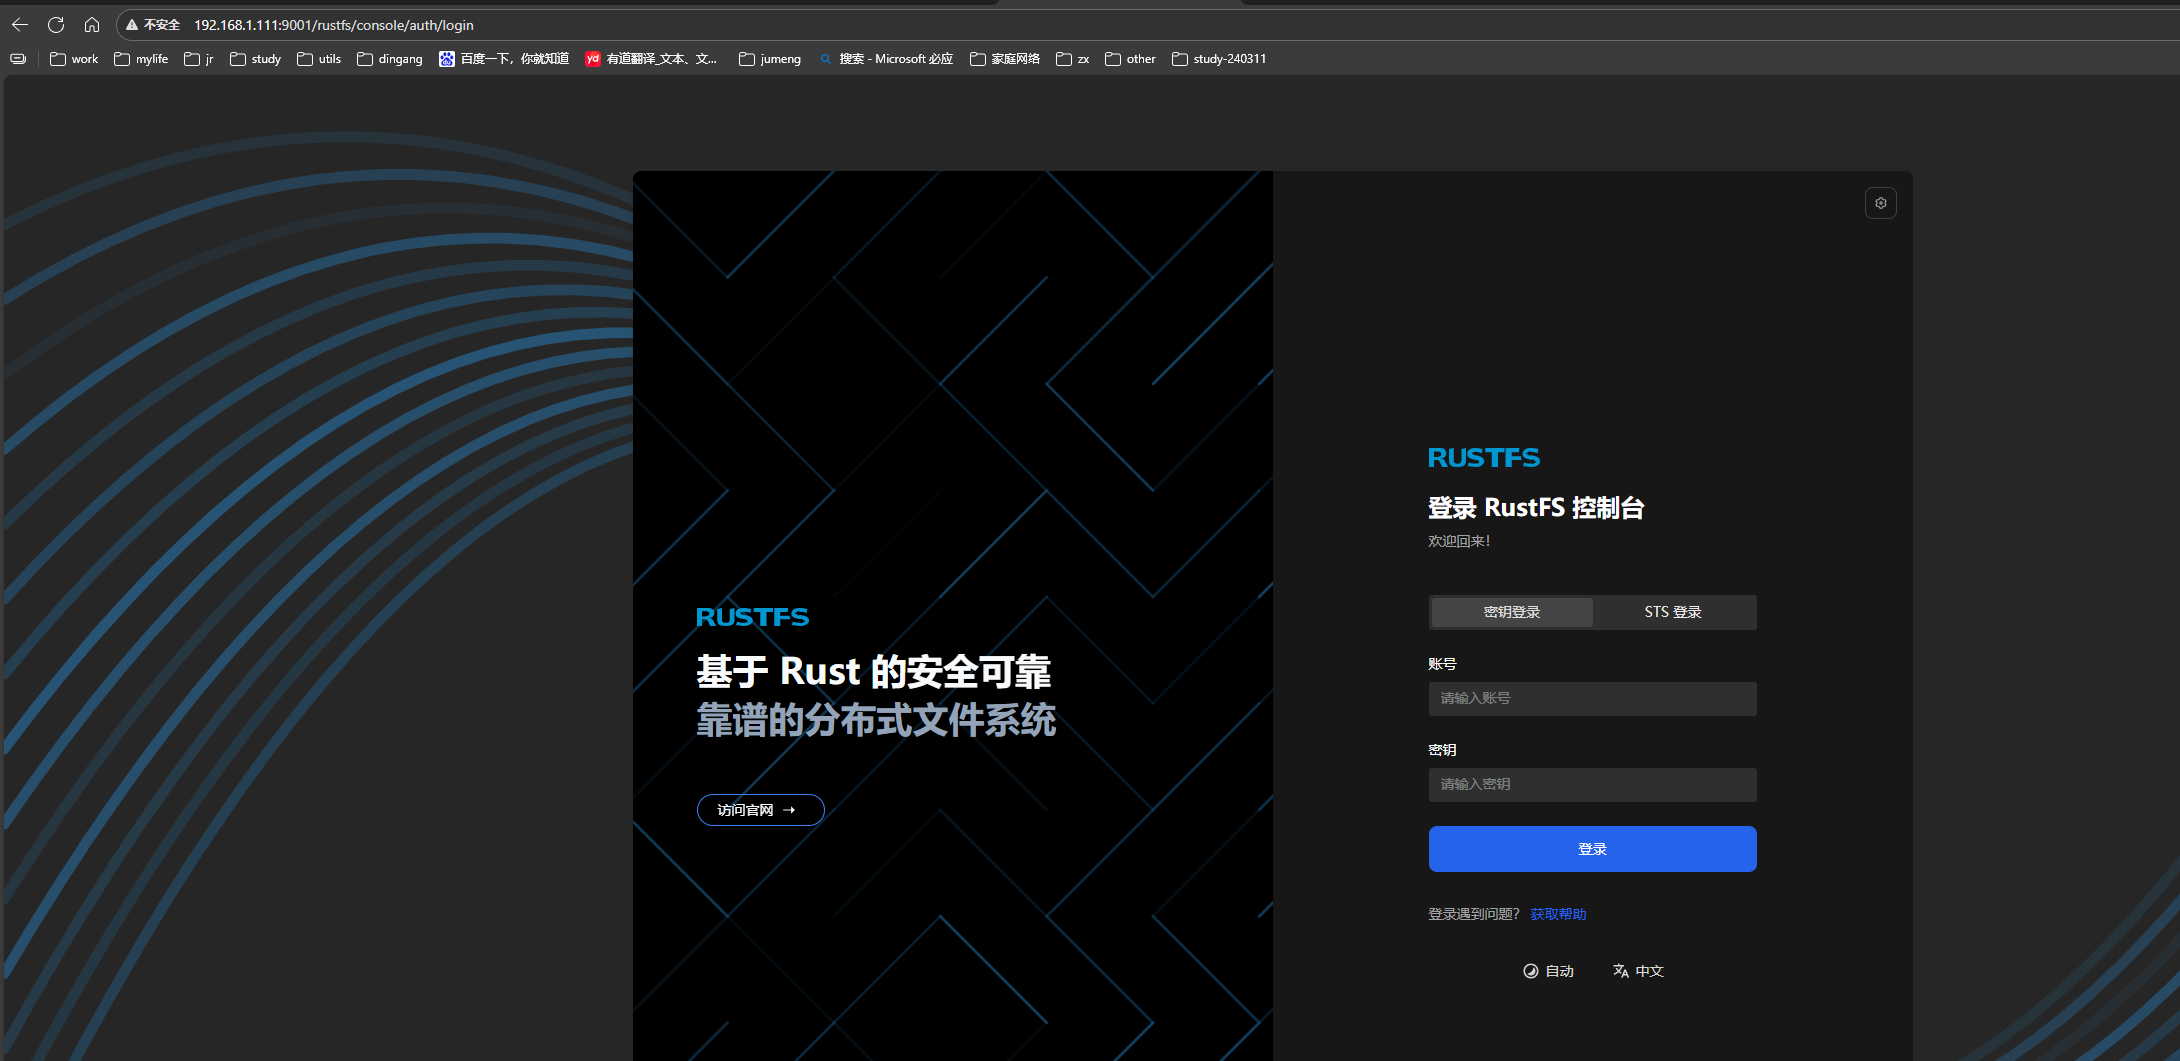
4、使用
http://192.168.1.111:9001/rustfs/console/auth/loginrustfsadmin/rustfsadmin